After solving some of the more noticeable issues like the persistent high idle in my 1982 Toyota SR5 pickup, it was time to start working down the list of other issues. One of them being a lot of play in the gear shifter, along with a persistent click sound each time I shifted from 2nd gear.
The good news is that the cause of this issues is relatively easy to address. It is not the first time it has happened in Toyota’s manual transmission, nor will it be the last. Hopefully this post gives you an understanding of what to do if you experience the same.
What’s Going On
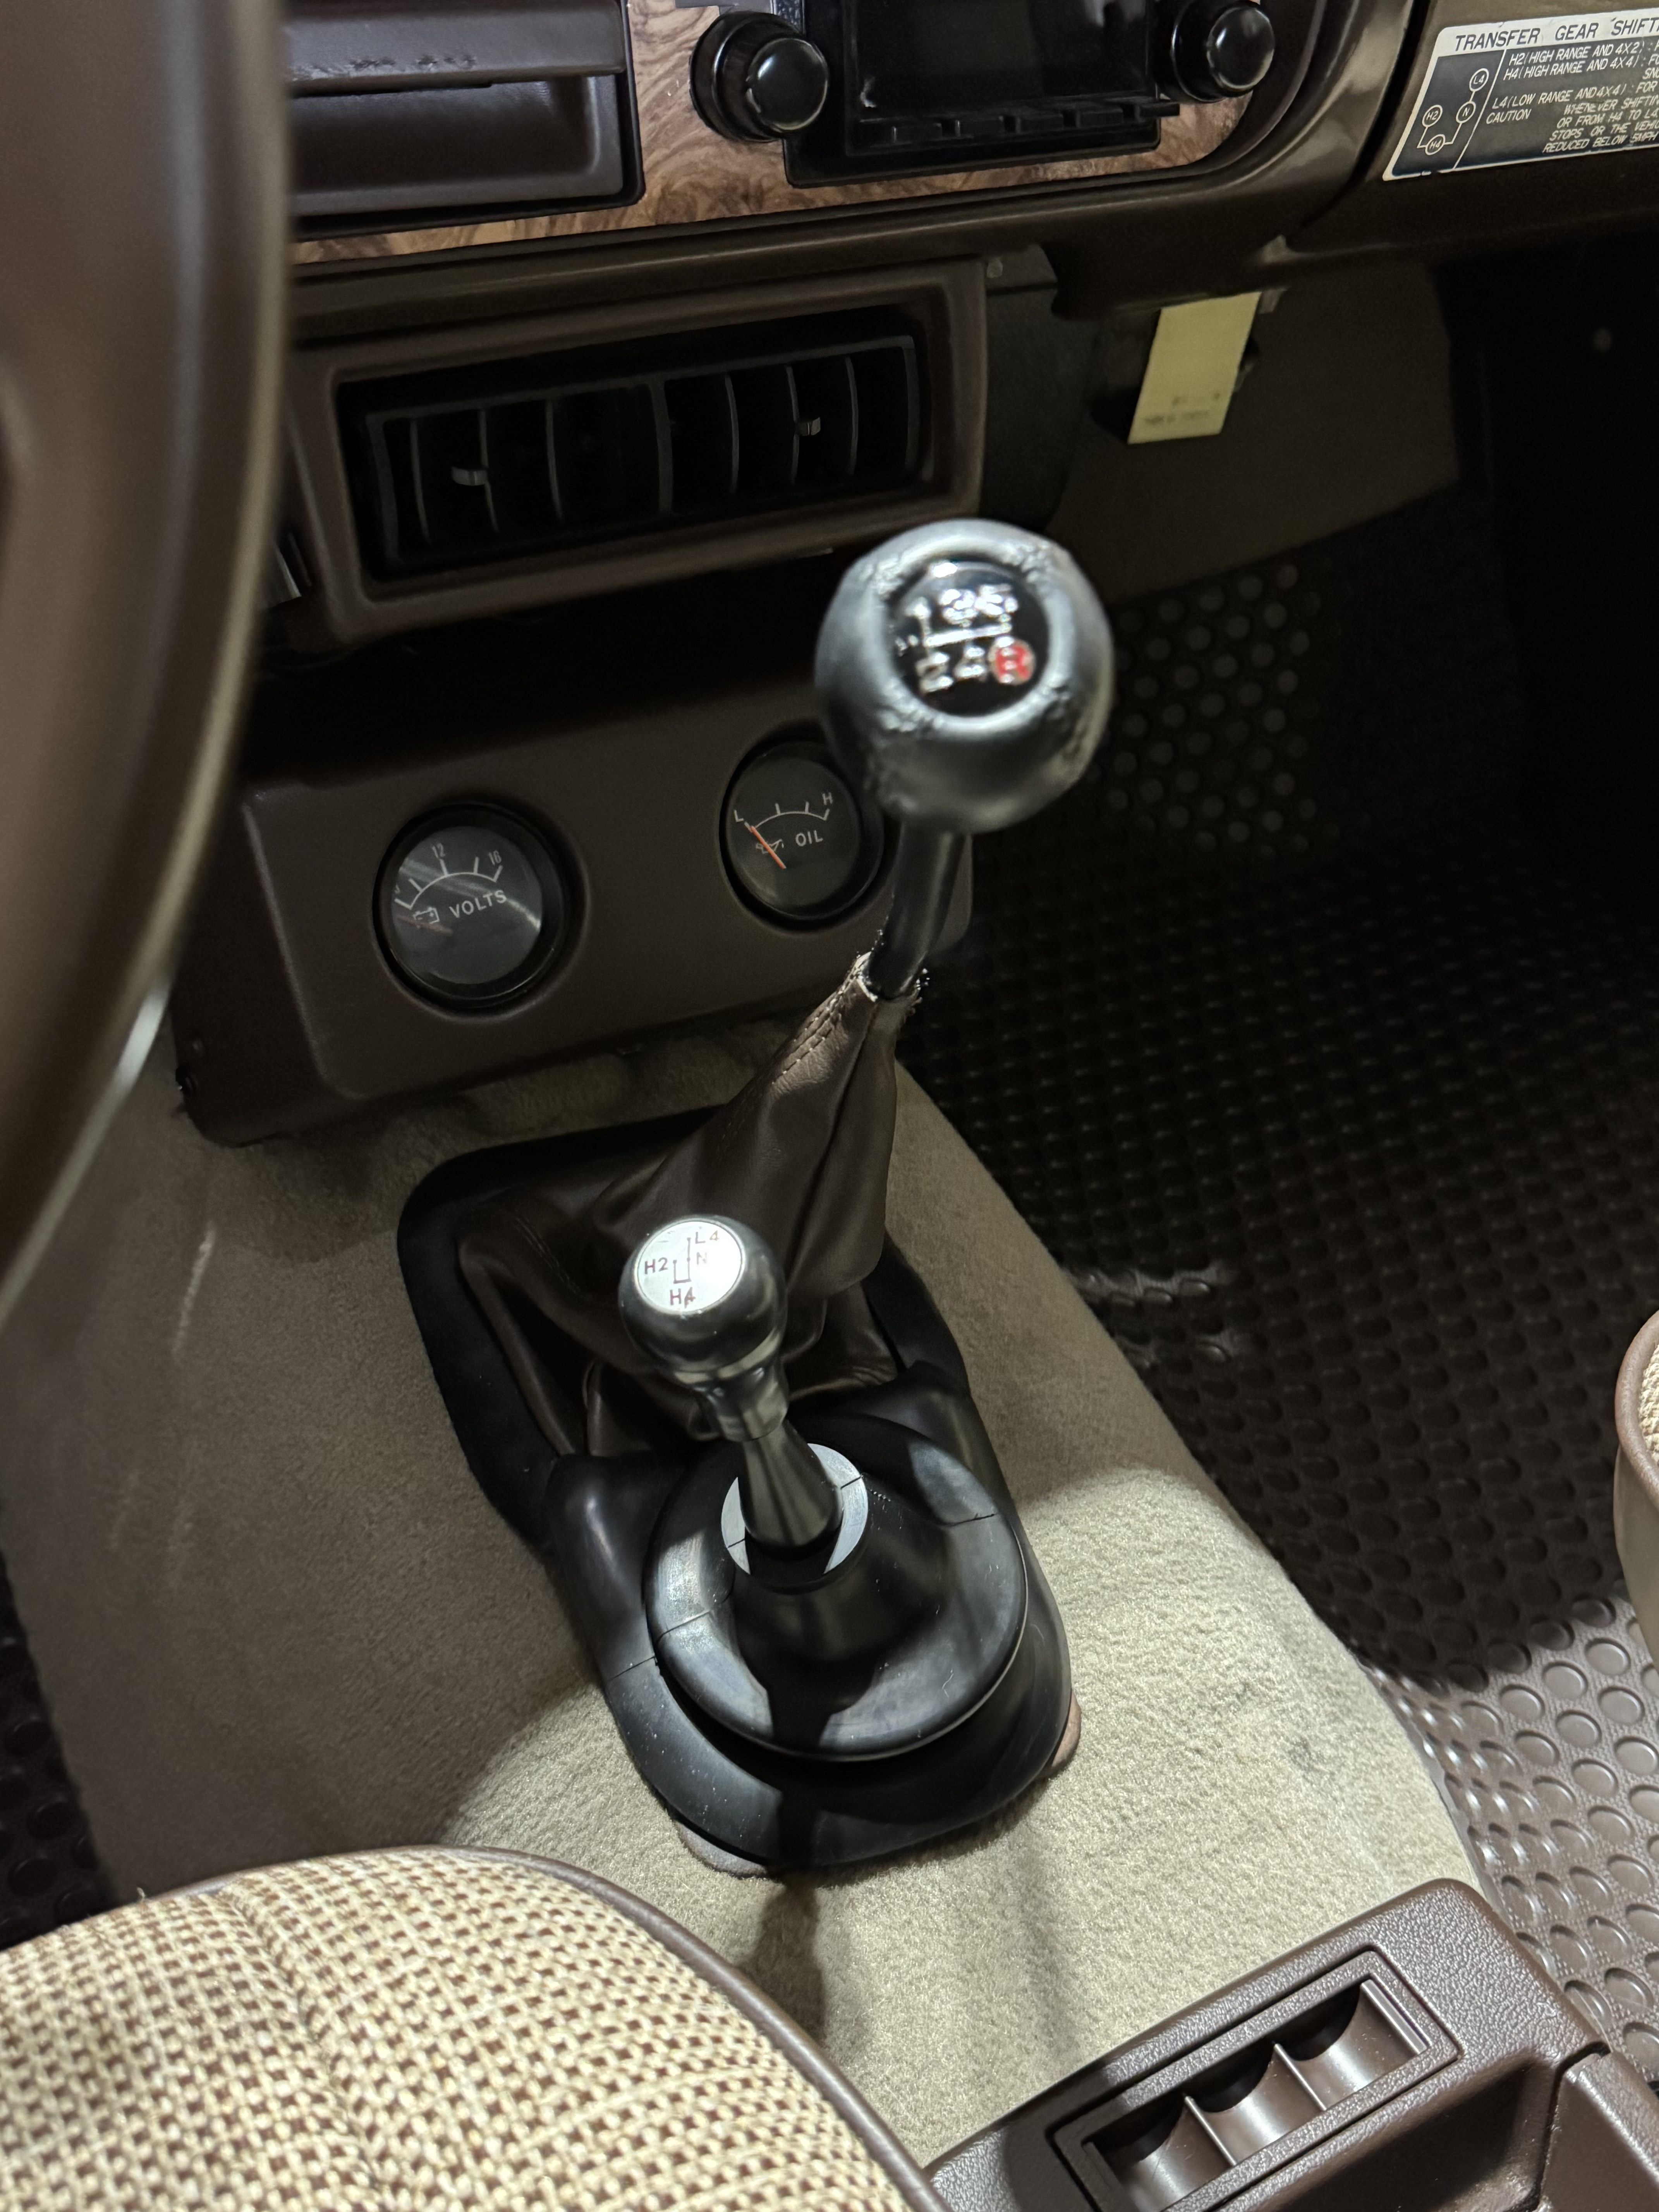
The shift lever of the Toyota 5-speed transmission sits on top of the transmission. The shifter stick consists of a spherical ball near the end of the shifter, that serves as the fulcrum when shifting. This sphere on the stick shift sits on a “shift lever seat bushing” at the top of the transmission housing. The end of the stick shift consists of a steel ball, covered by a vinyl lower shift bushing, which contacts the gear assembly within the transmission.
Both the shift lever seat bushing and the lower shift bushing tend to wear out over time. With just a bit of research, you can find several cases where both disintegrate into chunks of plastic. Not only does this introduce a lot of play in the shifter, but it creates a clicking sound when moving the shifter out of some gears. This clicking sound is simply steel on steel, versus nylon bushing against steel, as it was designed.
How to Fix
The fix is pretty straight forward, and may take you about an hour if this is your first time.
A new shift lever seat bushing (Toyota part number: 33505-35020) and the lower shift bushing (33548-31010) can be found quite easily online, and sometimes come as a package for little more than about $20. Since I wanted to make sure I had the proper grease that works with both Vinyl and steel, I went with Super Lube 92003 Silicon Lubricating Grease with PTFE but I’m sure other options will work fine.
After removing the shifter knobs and the leather boot for the shifter, you’ll find six screws holding on a boot cover assembly. Go ahead and remove and set aside.

At this point you’ll see a second boot that keeps any debris out of the transmission. This pops off easily.

As a precaution, I simply placed a couple of yellow microfiber towels to prevent a grease getting on something that it shouldn’t. Next you’ll see a spring-loaded retainer cap that must be rotated counter-clockwise about a quarter turn. If things are well worn, simply using your thumbs to press down and rotate. I also kept the shifter in neutral for the duration of the project.

Once that retainer cap is unlocked, you can pull the shifter out. You’ll likely see a broken lower shifter bushing like mind was below. Some can barely find any remnants of the bushing.

Setting the stick shift aside for a moment, peer into the hole that the shifter came from, and you’ll probably see the shifter seat bushing look similar to the image below. While mine looked pretty good, I’ve seen some images that didn’t have any recognizable bushing remaining. Nonetheless, I will be replacing this bushing as well.

You’ll want to pull the old seat bushing from the top of the transmission to prepare for its replacement. I wasn’t sure how brittle mine was, and didn’t want it to fall in the hole, so I used a small pick to pull it out gently. Once it is removed, clean out any old grease or debris. Then place the new seat bushing in the same position as the old one. I use the same silicone grease to line all sides of the bushing as well as the walls where the spring loaded cap sets.

After cleaning the end of the stick shift and removing any old grease that you find, put some silicon grease on the ball of the shaft prior to placing the lower bushing on. You can do this easily by placing the lower bushing on the floor and pressing the stick shift into the bushing. While you’re at it, grease up the spherical ball that serves as the pivot/fulcrum point of the shifter, that will sit on the seat bushing.

Next is inserting the stick shift. It will slide back in just as it came out. There are two grooves in the sphere of the shaft. Just make sure that is line up, and drop in. You may need to wiggle things a bit. Once that is complete, you’ll want to press down on the retainer cap and turn it clockwise to lock it in place. Since it is spring loaded, and may be tight with new bushings, this may be a bit tough with your hands. I borrowed a trick from someone else, and used a 19mm wrench at an angle to rotate it the quarter turn to lock it. The handle side of a pair of rubber coated pliers also works.

Once it is locked in, simply test the gear shift, and you’ll feel any unintended play has been removed, and any shifting from one gear to another no longer makes a clicking sound.
One note on the reassembly is that reinstalling the boot cover assembly with the 6 screws can be a challenge. The existing holes in the sheetmetal do not make themselves readily apparent since this cover sits over the carpet. I used an awl to help pinpoint the existing holes, but I could tell owners of the past weren’t as careful, as I saw a few stray holes
Conclusion
That’s it! This fix is relatively easy, and is a great way to bring back the proper feel of shifting with this transmission.
Pete