At some point I began to realize the restored truck I purchased wasn’t quite as restored as advertised. Even if a truck is advertised as professionally “disassembled and refurbished” there may inevitably be elements that remind you it is a 44 year old pickup. Part of that is simply what you sign up for when buying a restored vehicle.
But “oversights and issues” can range from trivial to serious. Some might actually be an honest blunder, while others might be a known matter that was considered to be “good enough for a sale.” Bigger undisclosed problems start to make you question the seller’s good faith. But when issues surface that begin to compromise safety, that is a problem.
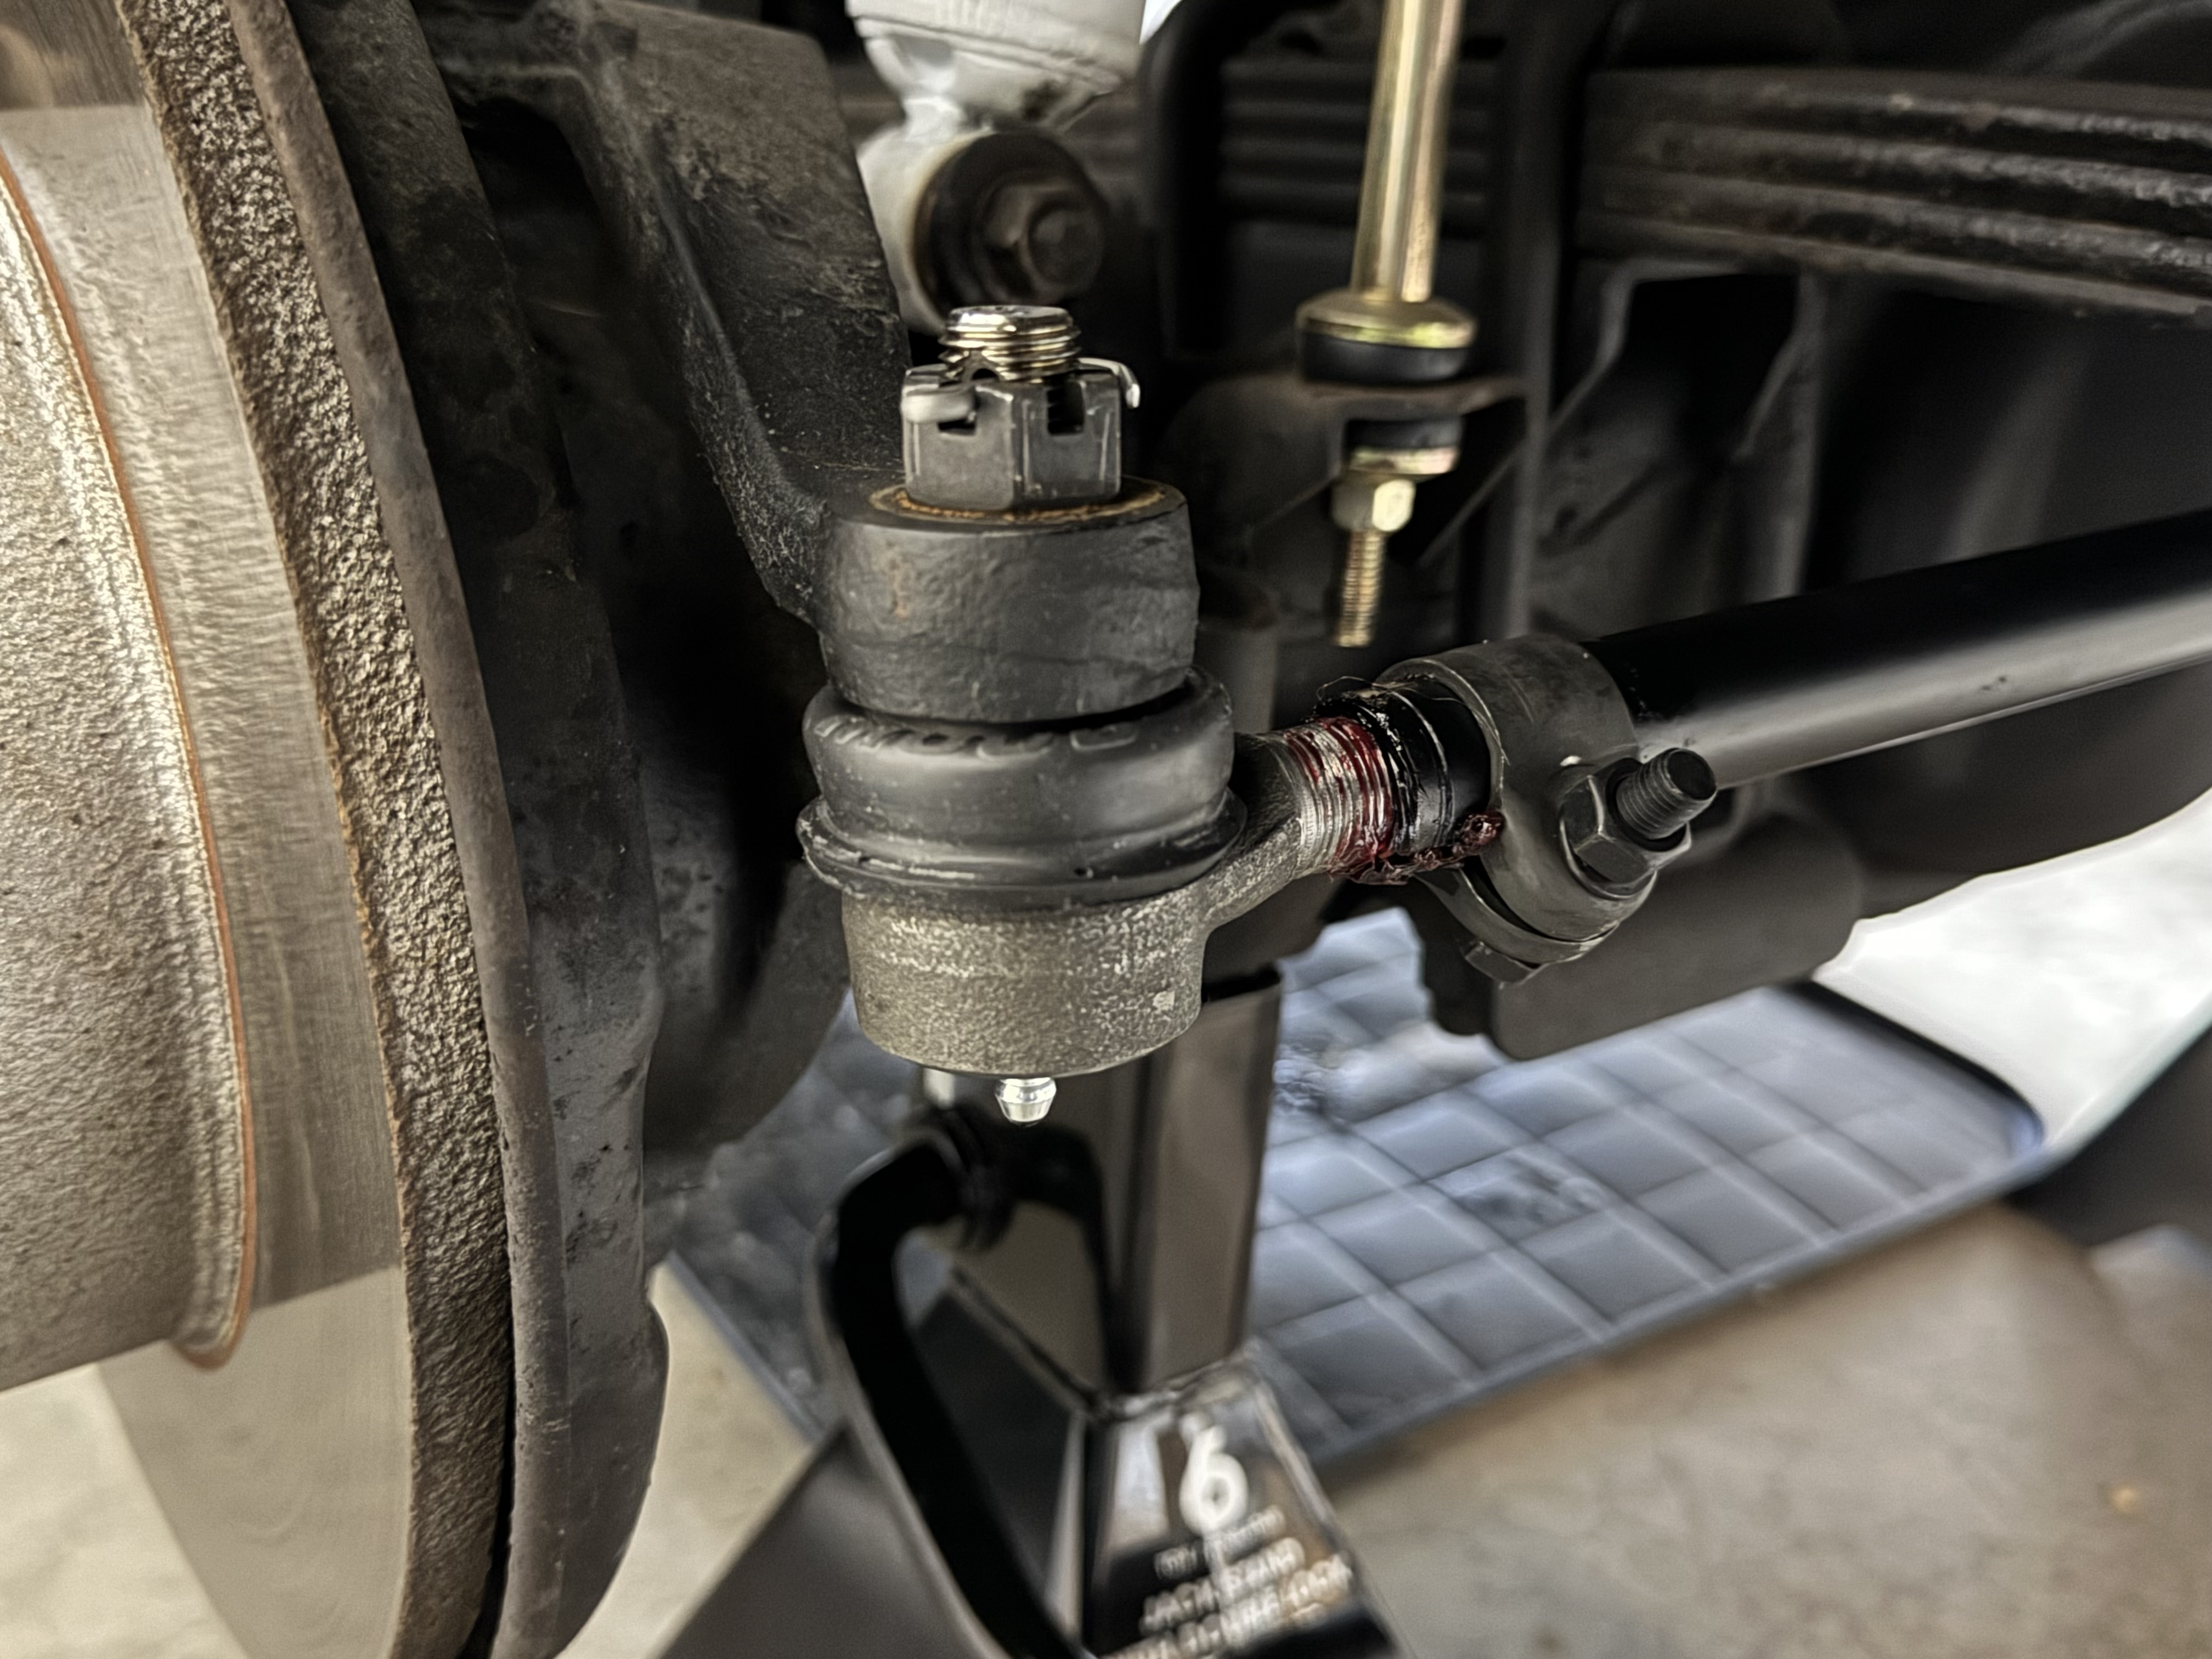
For me, the latest head-shaker was my steering linkage. Specifically, my tie rod ends. They were shot. While tie rod ends eventually wear out, it is not unreasonable for them to last 75,000 to 150,000 miles. I put 678 miles on my pickup before this discovery. How bad were they? Well, here’s an example of the passenger side.
Let’s look at it a little more closely after the tie rod end was taken off the truck and the rubber boot was removed.
I noticed this immediately after I put the front of the truck on jack stands. Candidly, it would be difficult NOT to notice this for anyone who had the truck up on a lift.
The Parts
The good news is that replacing tie rod ends is affordable, and relatively easy – which frustrates me even more when I consider how this dangerous condition was disregarded during any previous refurbishments.
As for replacements, my friend Kevin at pnw_toyota_4wd recommended the quality offerings from Moog or Mevotech but noted anything would be better than what I had. For the passenger side I went with a Moog ES2376 (left hand thread). Unfortunately, I was a bit under a time crunch, and couldn’t wait for Mevotech’s driver’s side tie rod end, so I picked up a Dorman 544-461. Perhaps not as heavy duty as other options, but it will work. Remember to have a grease gun ready to inject some grease into the zerk. The instructions for the tie rod ends suggest one or two pumps prior to installation.
Since I was uncertain on the condition of the threads on the center tie rod sleeve or how rusted on they were, I chose to pick up a new center sleeve. In hindsight this was entirely unnecessary, but it ensured that I’d be working with a straight tie rod sleeve with good threads. You’ll want to look for one that is 38.75” and an inside diameter of 0.67” and suited for M17 threaded tie rod ends.
The Fix
The replacement was straightforward.
- Lift up the front on jack stands.
- Remove both wheels.
- Disconnect the steering stabilizer from the driver’s side tie rod end.
- Unscrew the castle nut from each tie rod end.
- Use a pitman arm puller to pop out the tapered shaft of the tie rod ends from the steering knuckle.
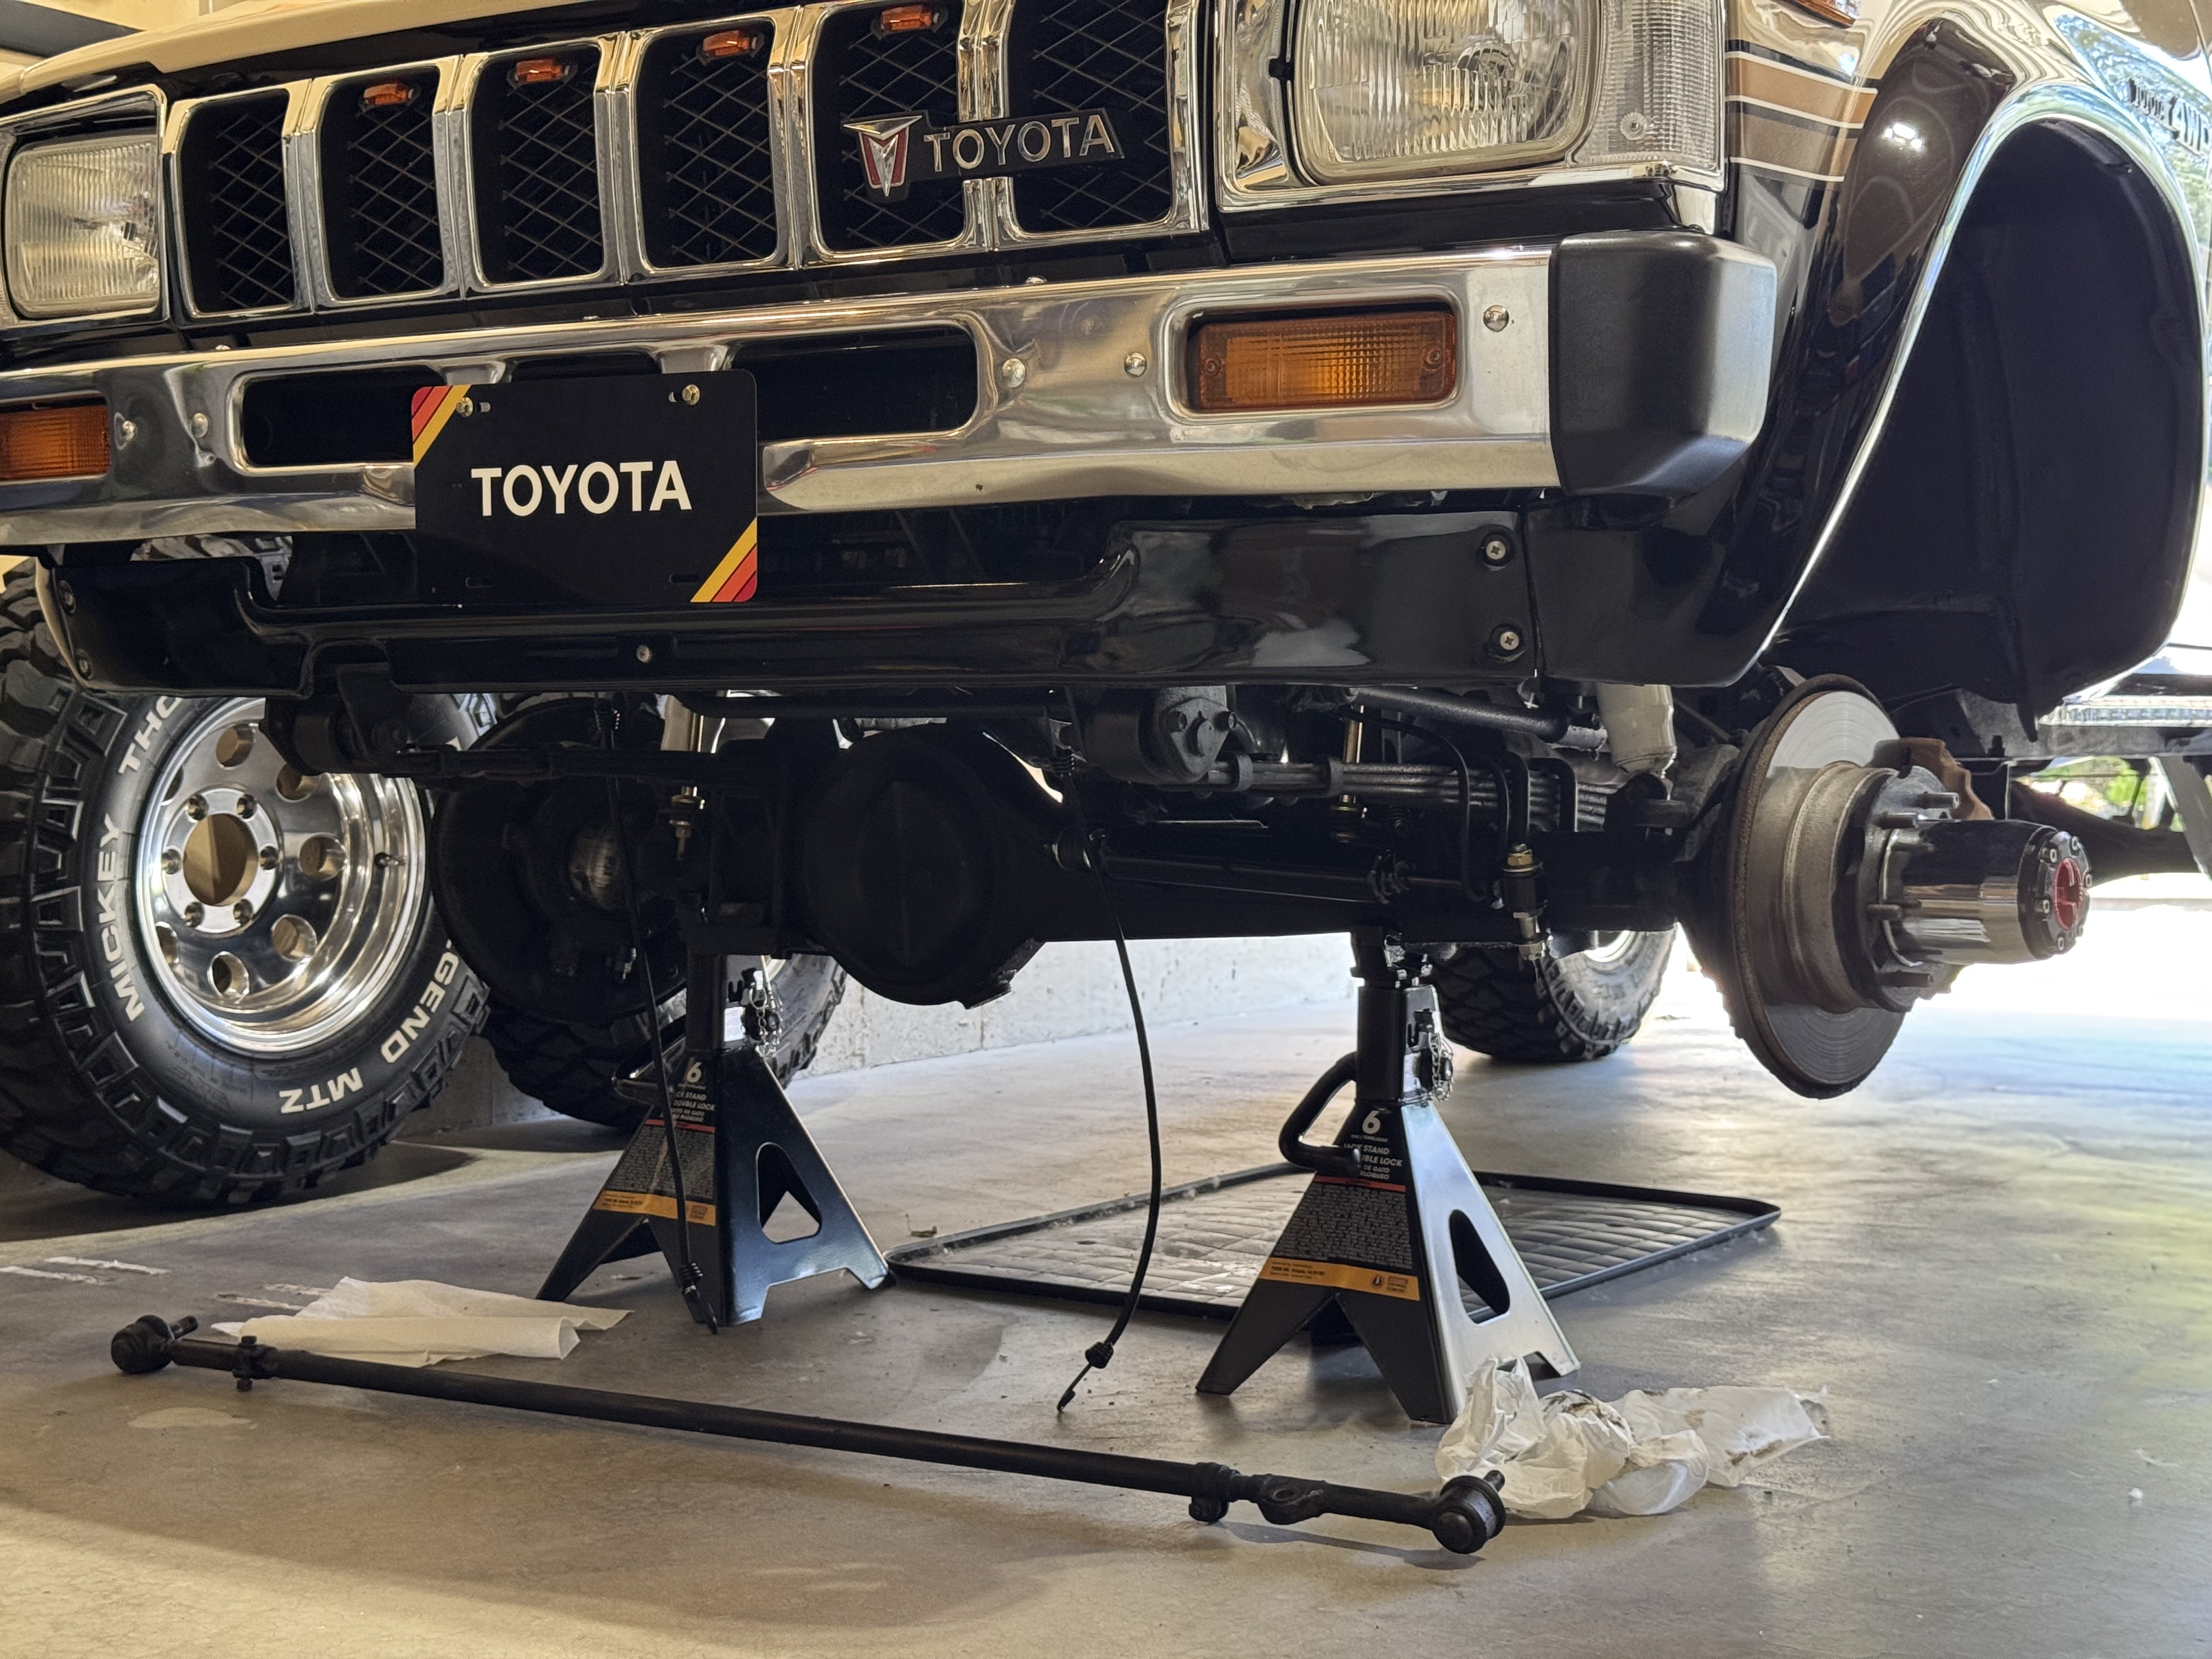
Since I was replacing both tie rod ends and center sleeve, I decided to take the entire thing off in one piece.
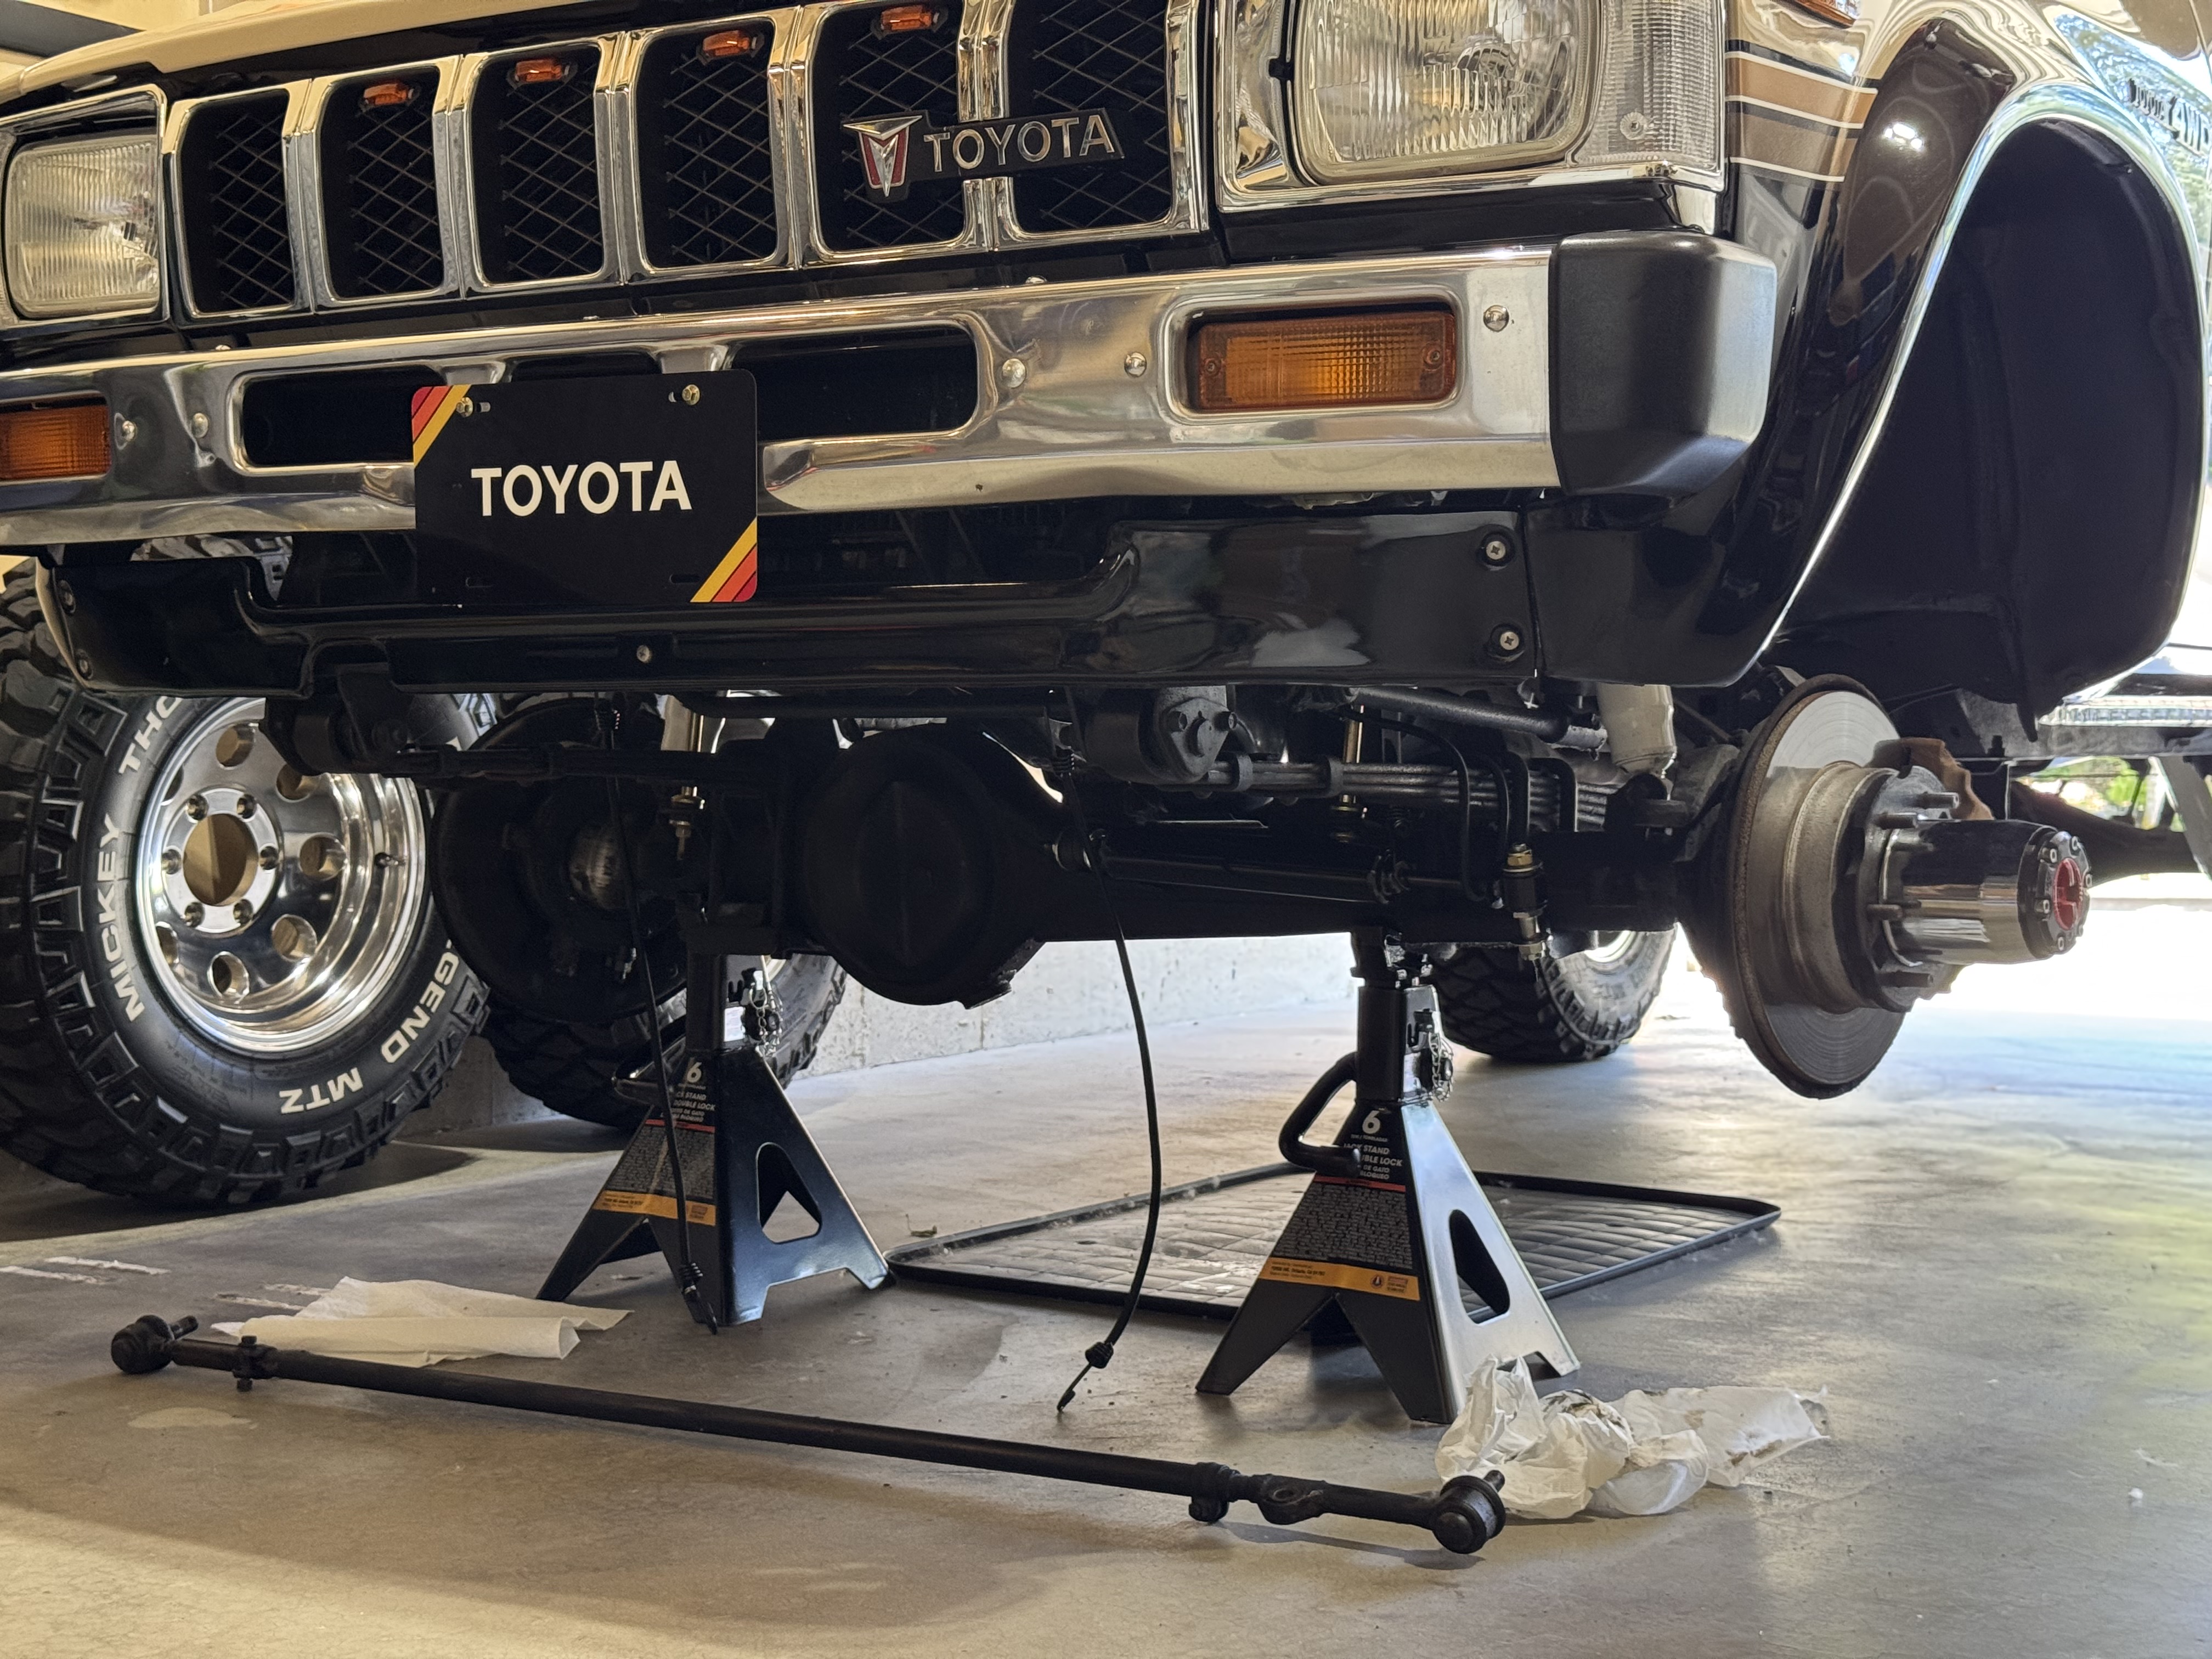
This would allow me to more precisely measure the total length so I could get the length as close as I could with the new setup to minimize alignment issues. Even though I chose not to use the old center sleeve, I was eventually able to get the old tie rod ends off of the center sleeve with PB Blaster, vice grips on the center sleeve, and a pipe wrench on the end of the old tie rod ends.
With the new parts in hand, I preassembled the tie rod ends to the new center sleeve, coating the threads with some grease prior to threading. Don’t be surprised if the new tie rod ends use a castle nut size that is a bit different than the old tie rod end. So be prepared to have the right socket size when torquing them down to the recommended torque specification.
Once the castle nuts for each tie rod are torqued properly, reconnect the steering stabilizer to the new drivers side tie rod end. Take the front axle off of the jack stands and lower to the ground. Hold off on tightening the two clamps on the tie rod sleeve, as you’ll be making adjustments during the alignment.
Post Replacement Alignment
The next obvious step is to align the front wheels. Rather than do one of the typical manual methods, I decided to try a different approach. I purchased a Gyraline G1 alignment measurement system. This consists of an app for your phone, and a simple 3D printed jig to place your phone in for alignment.

The Gyraline can measure several alignment types, including toe, camber, caster, total body alignment, and so on. With the truck having two solid axles, this eliminates some of those adjustments, and your main concern will be setting toe-in correctly. For the pickup, the recommended toe-in is 0.1 degrees.
Some type of alignment slip plates would typically be needed to allow the tires to easily rotate while weighted. There are some DIY ways to do this, but I simply measured the alignment with the Gyraline on level ground, then when adjusting, I would temporarily jack up the front just enough to take the load off the front tires. Turning the center sleeve by hand DOWNWARD will create more toe in, while turning it UPWARD would reduce toe-in. Once it was set, I tightened the clamps on the center sleeve, and lower from the jack. If a quick retest shows that it remains within the tolerance, I then took it out for a quick drive, and parked it back on a flat surface and rechecked the toe-in. Here was my end result.

If any small adjustments are needed, simply repeat the steps above, followed by a final tightening of the clamps on the center sleeve one last time.
Simply put, the Gyraline is amazing. It worked better than my expectations and paid for itself quickly by eliminating the need of a professional alignment. But your results may vary due to your environment, phone and technique during the alignment process.
Summary
Replacing the tie rod ends in the pickup is an easy and affordable fix. While it was frustrating to discover this, it makes me more determined than ever to find what wasn’t properly addressed, and fix it the right way.
– Pete