
Now that the vacuum lines have all been swapped, the BVSV replaced and the smoke tester was showing no noticeable leaks other than from the choke on the carburetor, it seemed to me that the culprit may be somewhere with the factory carburetor. But the carburetor itself is an assembly of discrete parts and controls, so that only vaguely narrows down the area of focus. There are elements of the carburetor that could be the cause, but are more difficult to fix. That would include components related to the electric choke. Given that I’ve heard a bit of hissing somewhere around it, I figured I had a few ways I could approach this.
- Option 1: Diagnose and fix the existing carburetor. This would be the purest form of troubleshooting and fixing but it could make things far more complicated and time consuming than it needs to be. While some things could be fixed on the carburetor like a new base plate and gaskets, other components related to the electric choke would be more difficult.
- Option 2: Buy a new Weber carburetor with the appropriate adapters. Probably one of the more common approaches, but since I have a factory carburetor in place, I wanted to maintain the look and feel of factory.
- Option 3: Buy a professionally rebuilt carburetor. This would allow me to introduce a known quantity (a perfectly rebuilt factory carburetor) and eliminate several ancillary possibilities with the existing carb. Going this route also eliminated any modifications to my existing setup.
A trusted friend highly recommended option #3, so I ended up going with a rebuilt factory carburetor. He recommended Carburetor Center out of California. They shipped out a fully rebuilt carburetor in a few weeks, and gave me the information to ship back my core for a discount.
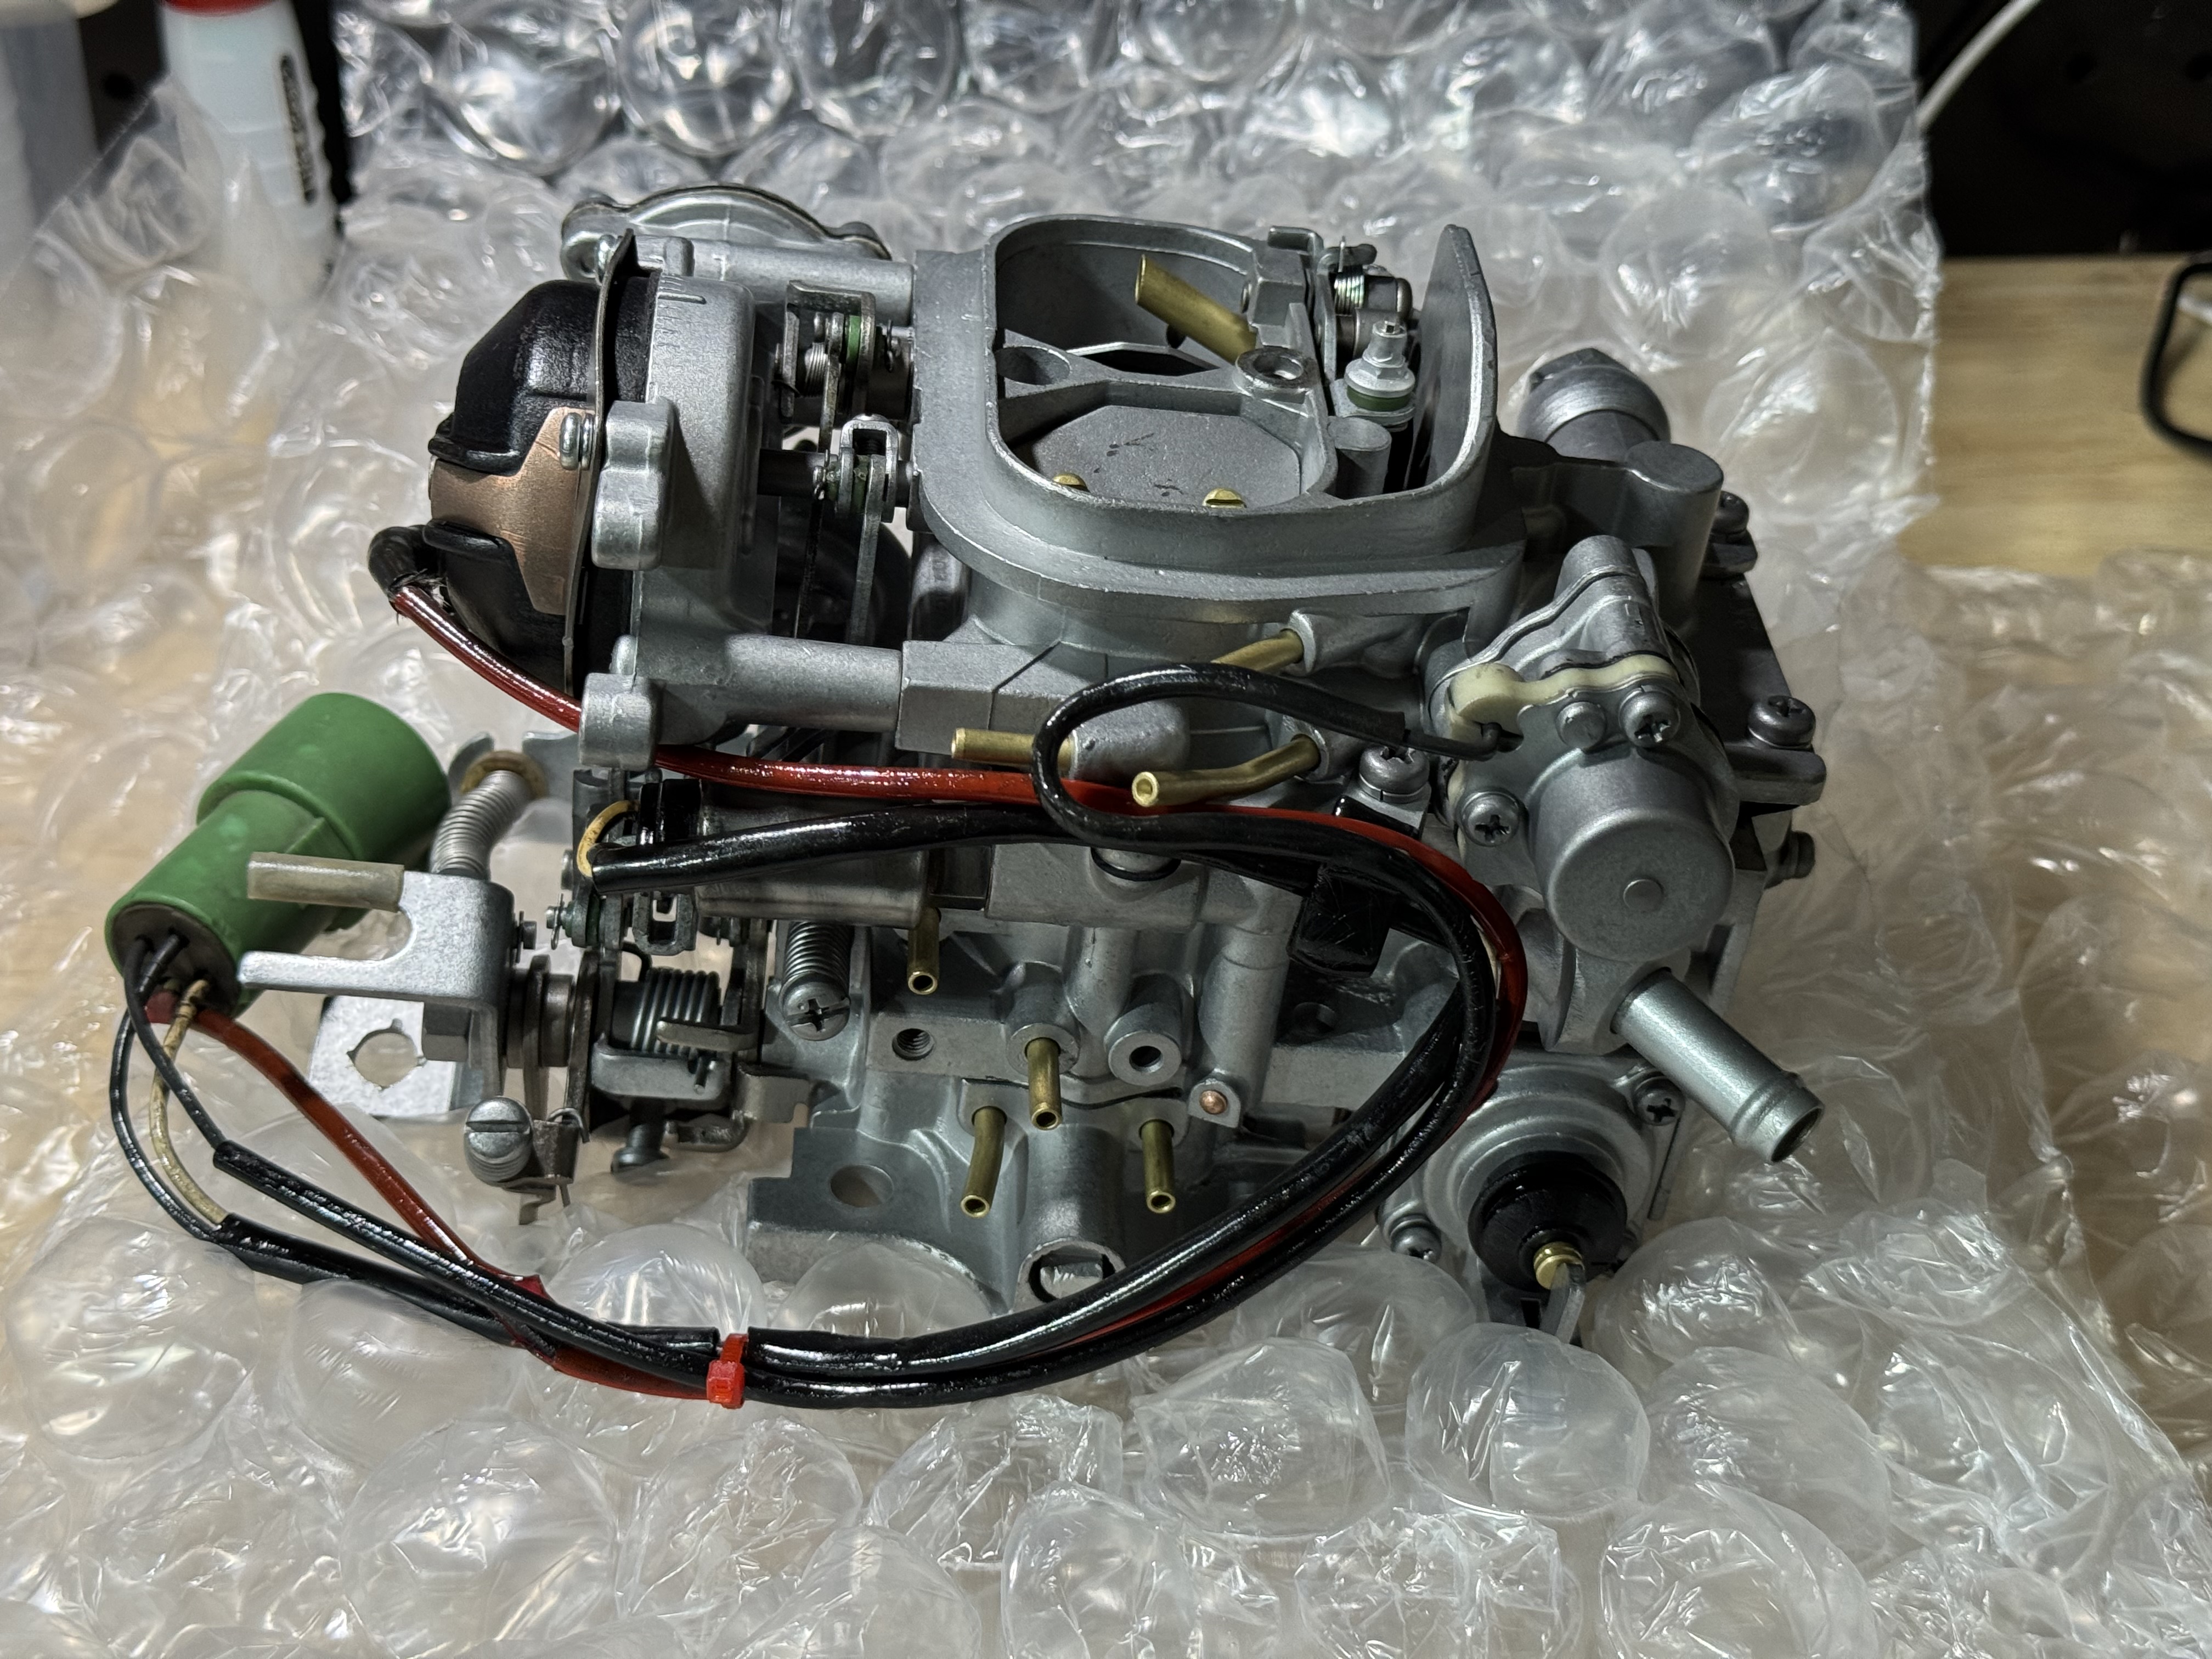
As you can see below, the rebuilt carburetor was in terrific shape. And look at all of those vacuum ports!
The carburetor does not mount directly to the intake manifold. It uses a base plate that helps insulate the carburetor from the heat of the manifold – hence why it is sometimes called an insulator. There is a gasket is sandwiched between the base plate and the intake manifold, and another gasket between the base plate and the carburetor. The rebuilt carburetor came with the gaskets, but it was worth purchasing a new OEM base plate, as old baseplates can be in bad shape, and some non-OEM baseplates are even shaped differently than the OEM type.
The Removal of the Old Carburetor
Any paranoia that I had about this effort was really about not reconnecting things as they previously were along with anything else self-induced, and otherwise preventable. To minimize this risk, much of my time was spent labeling connections, taking photos, and documenting some basic steps that I did not want to overlook. I didn’t care how much I thought I might remember something, if I disconnected it, I labeled it. Painters tape works well for this task.

Here were the basic steps for removing the carburetor.
- Disconnect the cable from the negative battery terminal.
- Remove air cleaner assembly.
- Disconnect electrical connection to carburetor.
- Label all hoses connected to carburetor.
- Detach all hoses but fuel line (save until last in the event there is fuel in the line).
- Disconnect throttle linkage cable. Simply rotate up the throttle cam and disconnect. Then loosen the bolts for the throttle cam assembly (usually two 12mm bolts holding the bracket) to make the carb removal easier.
- Pinch or cap the fuel line to the carb as it is being disconnected. (Mine did not leak any fuel as it had been several days since it last ran)
- Loosen and remove the four, 12mm nuts holding the carb in place. With the tight spaces involved, you may need a 12mm Crowfoot wrench for the task. I didn’t have one so it served as a good opportunity for me to pick up a complete set. Where have these been all my life?!
Once you carefully lift off the old carburetor, base plate and gaskets, you’ll hopefully see nothing but an intake manifold. This serves as a good opportunity to clean any residue on the surface.

What I found
The very first thing I noticed when pulling off the old carburetor was the baseplate definitely did not look OEM. You can see the difference between the new and the old, below.

Next, I noticed there was only a gasket between the baseplate and the carburetor, and not a gasket between the base plate and the intake manifold. That would certainly explain the hissing sound I heard.
Before I begin installing the new carb, you’ll want to install the baseplate and the gaskets. This is a good opportunity to triple-check that you have all three oriented correctly. It can be easy to make a mistake.

The Installation of the New Carburetor
The installation of the new carburetor basically is a reversal of the steps used to remove the old carburetor. Simply put the new carburetor in place, making sure the base plate and gaskets stay put before you begin securing it. You will also want to make sure that the throttle com connection is locked into place.
When tightening down the four faster nuts for the carburetor, take this nice and easy. From what I was able to gather, roughly 12 ft-lbs is an appropriate torque rating for these nuts, but tighten equally in a criss-cross pattern in stages to make sure pressure is applied evenly. More than anything, you do not want to over tighten – which is an instinct of mine I am always fighting against. Since you may need to use a Crowfoot went on these, I would not rely on a reading from a torque wrench, as it requires different calculations. If you are uncertain of what 12 ft-lbs feels like for the tool you are using, practice on it elsewhere first.
Before you begin reconnecting everything, this is a good time to get the throttle cam linkage tightened back up and make sure that it is working smoothly.
In my excitement of getting the new carburetor installed, I didn’t realize I needed to remove the dashpot from the old carburetor and install it on the new one. The dashpot is an innovative little device consisting of a diaphragm that is controlled by vacuum, and connected to the throttle linkage. Its goal is to help control the throttle to prevent the motor stalling after rapidly lifting off the throttle. Think of it like a shock absorber or a damper for the throttle position when letting off the throttle. The good news is that I was able to mount it on the new carb after the new carb was already installed. The trickiest part was just making sure that tiny cotter pin at the end of the rod was clipped in correctly. A pair of needle-noes pliers, and really good light worked well for this.

Post-Installation Testing
Once I double checked that all of the steps had been reversed and everything was cleaned up, I gave it a try. It took a few cranks to get the carburetor primed, but then it started up without issue. Definitely a success on this project, but did it cure my high idle? Stay tuned!
– Pete